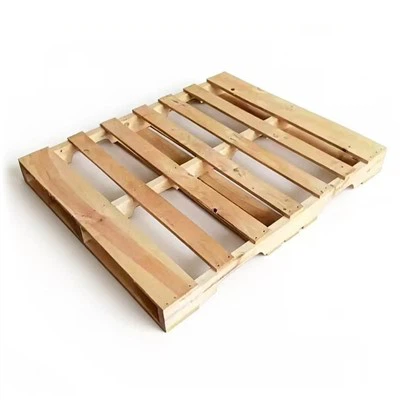
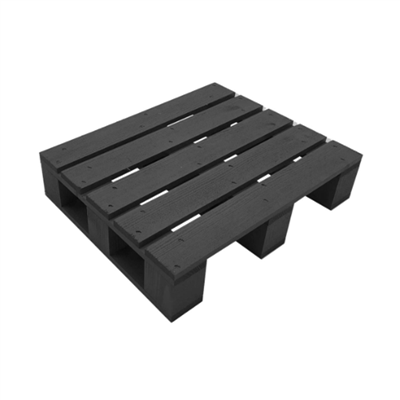
Hey there! I'm a supplier of Fumigation-free Crates, and I often get asked about how to clean these crates. So, I thought I'd share some tips and tricks on how to keep your fumigation-free crates in top-notch condition.
First off, let's talk about why cleaning these crates is so important. Fumigation-free crates are a great alternative to Fumigated Crates as they're more environmentally friendly and don't require the use of harmful chemicals. But like any other shipping container, they can get dirty over time, especially if they're used to transport goods. Dirt, dust, and debris can accumulate on the surface of the crates, which not only looks bad but can also potentially damage the wood and affect the integrity of the crate.
Step 1: Prepare Your Cleaning Tools
Before you start cleaning, gather all the necessary tools. You'll need a soft-bristle brush, a bucket of warm water, mild detergent, a clean cloth, and a dry towel. Avoid using harsh chemicals or abrasive materials as they can damage the wood. A mild detergent is usually sufficient to remove dirt and grime without harming the crate.
Step 2: Remove Loose Debris
Start by using the soft-bristle brush to gently sweep away any loose dirt, dust, or debris from the surface of the crate. Pay special attention to the corners and edges where dirt tends to accumulate. You can also use a vacuum cleaner with a soft brush attachment to get rid of any stubborn particles.


Step 3: Mix the Cleaning Solution
In the bucket of warm water, add a small amount of mild detergent. Stir the solution gently until the detergent is fully dissolved. You don't need to use a lot of detergent; a little goes a long way.
Step 4: Clean the Crate
Dip the clean cloth into the cleaning solution and wring it out well so that it's damp but not dripping. Wipe the surface of the crate with the damp cloth, using gentle circular motions. Make sure to cover all areas of the crate, including the sides, top, and bottom. If there are any stubborn stains, you can use a little more pressure, but be careful not to scratch the wood.
Step 5: Rinse the Crate
Once you've cleaned the entire crate, rinse it thoroughly with clean water. You can use a hose or a bucket of water to do this. Make sure to remove all traces of the cleaning solution from the crate.
Step 6: Dry the Crate
After rinsing, use a dry towel to pat the crate dry. Make sure to remove as much water as possible. Then, let the crate air dry completely in a well-ventilated area. Avoid placing the crate in direct sunlight or near a heat source as this can cause the wood to warp or crack.
Step 7: Inspect the Crate
Once the crate is dry, inspect it for any signs of damage or wear. Look for cracks, splinters, or loose boards. If you find any issues, you may need to repair or replace the crate. It's important to ensure that the crate is in good condition before using it again.
Additional Tips
- Regular Maintenance: To keep your fumigation-free crates in good condition, it's a good idea to clean them regularly. Depending on how often you use the crates, you may want to clean them every few months or after each use.
- Storage: When not in use, store the crates in a dry, cool place. Avoid storing them in areas where they may be exposed to moisture or extreme temperatures.
- Use Protective Coatings: Consider applying a protective coating to the crates to help prevent dirt and moisture from penetrating the wood. There are many different types of protective coatings available, such as varnishes, stains, and sealants.
If you're in the market for high-quality Fumigation-free Crates or Heavy Duty Wood Shipping Crates, I'd love to talk to you. Whether you're a small business owner or a large corporation, I can provide you with the right crates for your shipping needs. Just reach out, and we can discuss your requirements and find the perfect solution for you.
References
- "Wooden Crate Maintenance Guide." Woodworking Today.
- "Best Practices for Cleaning Shipping Containers." Logistics Magazine.